
北京大学成绩自动查询(server酱版)#
苦于安卓没有bark,故在A神基础上改为了server酱版,支持安卓和ios。
功能#
- 🚀 全自动过门户验证,查询成绩更新
- ⏰ 每 10 分钟查询一次成绩,再无需手动刷半天
- 📢 server酱通知,让你随时随地知道自己考咋样
寄了没、老师调没调
更新:由于 这篇文章 ↗ 中指出的 GitHub Actions 并不会保证 schedule 调度的准确性,所以本分支采用通过GAS(Google Apps Script)设置外部触发器的形式。
简要上手教程#
首先,随便新开一个 私有 仓库(除非你想让所有人都能看到你的成绩,否则别设为公开)。
然后,按照如下流程设置环境变量:
- 您需要生成一个 个人 API 令牌 ↗,然后在仓库的
Settings -> Secrets and variables -> Actions -> Secrets -> Repository secrets中添加如下变量:API_TOKEN:个人 GitHub API 令牌USERNAME:学号PASSWORD:密码SENDKEY:server酱令牌,用于通知成绩更新,请参见 server酱3官网 ↗,手机应用可以直接到应用商城里下,记得开启通知权限
- 请注意,由于需要提交更新后的成绩数据到你的仓库,你还需要在
Settings -> Actions -> General -> Actions permissions -> Workflow permissions中启用Read and write permissions权限。
最后,在仓库中创建 .github/workflows/watcher.yml 文件,内容如下(以每 10 分钟查询一次为例):
name: pku-grade-watcher

on:
    push:
        branches:
            - main
    workflow_dispatch:

jobs:
    watcher:
        runs-on: ubuntu-latest
        steps:
            - name: pku-grade-watcher
              uses: Zhaoyi-Tian/pku-grade-watcher@serverchan-3 //临时,已向A神提交PR,后续可替换
              with:
                  api-token: ${{ secrets.API_TOKEN }}
                  username: ${{ secrets.USERNAME }}
                  password: ${{ secrets.PASSWORD }}
                  sendkey: ${{ secrets.SENDKEY }}
                  git-name: Github Action
                  git-email: [email protected]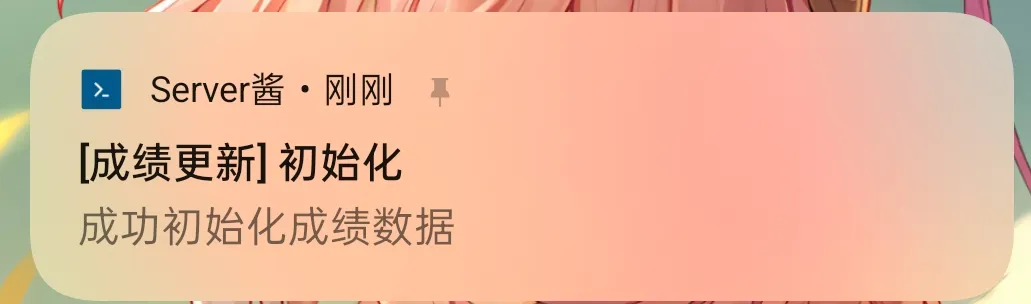
git-message: 'chore(updates): updated data'在成功设置好后,你应当能接收到一条初始化通知:
GAS(Google Apps Script)外部触发器(需要有google账号)#
进入 Google Apps Script ↗ ,新建一个项目,复制以下代码:
/**
 * @fileoverview PKU-Grade-Watcher Trigger Script
 * @author Zhaoyi-Tian
 * @license GNU GPL v3
 * @see https://github.com/Zhaoyi-Tian/Watch-Grade
 * * Copyright (C) 2026 Zhaoyi-Tian
 * This program is free software: you can redistribute it and/or modify
 * it under the terms of the GNU General Public License as published by
 * the Free Software Foundation, either version 3 of the License.
 */

function triggerGithubAction() {
  // 1. 首先在页面最左侧齿轮图标(项目设置)设置脚本属性,属性为GITHUB_TOKEN,值为你github的一个具有 repo 权限的 Personal Access Token (PAT)。
  const scriptProperties = PropertiesService.getScriptProperties();
  const githubToken = scriptProperties.getProperty('GITHUB_TOKEN');

    // 2. 修改下面的 URL,替换为你自己的私有仓库地址
    // 如https://api.github.com/repos/Zhaoyi-Tian/Watch-Grade/actions/workflows/watcher.yml/dispatches
  const url = "https://api.github.com/repos/你的用户名/你用来查分的私有仓库名/dispatches";


  const payload = {
    "ref": "main" // 或者你的默认分支名
  };

  const options = {
    "method": "post",
    "headers": {
      "Authorization": "Bearer " + githubToken,
      "Accept": "application/vnd.github.v3+json",
      "Content-Type": "application/json",
      "User-Agent": "Google-Apps-Script"
    },
    "payload": JSON.stringify(payload),
    "muteHttpExceptions": true
  };

  const response = UrlFetchApp.fetch(url, options);

  Logger.log("Status Code: " + response.getResponseCode());
  Logger.log("Response: " + response.getContentText());
}接下来在页面最左侧齿轮图标(项目设置)设置脚本属性,属性为GITHUB_TOKEN,值为你github的一个具有 repo 权限的 Personal Access Token (PAT)。
保存脚本后就可以尝试运行了,返回Status Code: 204,可以到你的私有仓库的 Actions 页面查看是否触发成功。
第一次运行或设置触发器时,会弹出授权窗口。请依次点击:高级 (Advanced) -> 转到 (你的项目名)(不安全) -> 允许。
然后点击左侧的“闹钟”图标(触发器),添加一个触发器,选择 triggerGithubAction 函数,选择时间驱动,分钟定时器,然后选择你想要的频率(建议10~20分钟)。